Ever walk into a coffee shop, order a latte, and get a cup topped with a beautiful rosetta or a perfect heart? It feels like a little bit of magic. For years, I thought that kind of artistry was reserved for seasoned baristas with years of training and intimidatingly expensive equipment. But what if I told you the secret to learning How To Make Barista Style Latte Art is more accessible than you think, and it all starts with one simple tool in your kitchen?
That’s right. You don’t need a thousand-dollar espresso machine to start your journey. You just need a little know-how, the right milk, and your trusty milk frother. Get ready to transform your morning coffee from a simple caffeine fix into a daily masterpiece. Let’s dive in and demystify the process, one silky-smooth pour at a time.
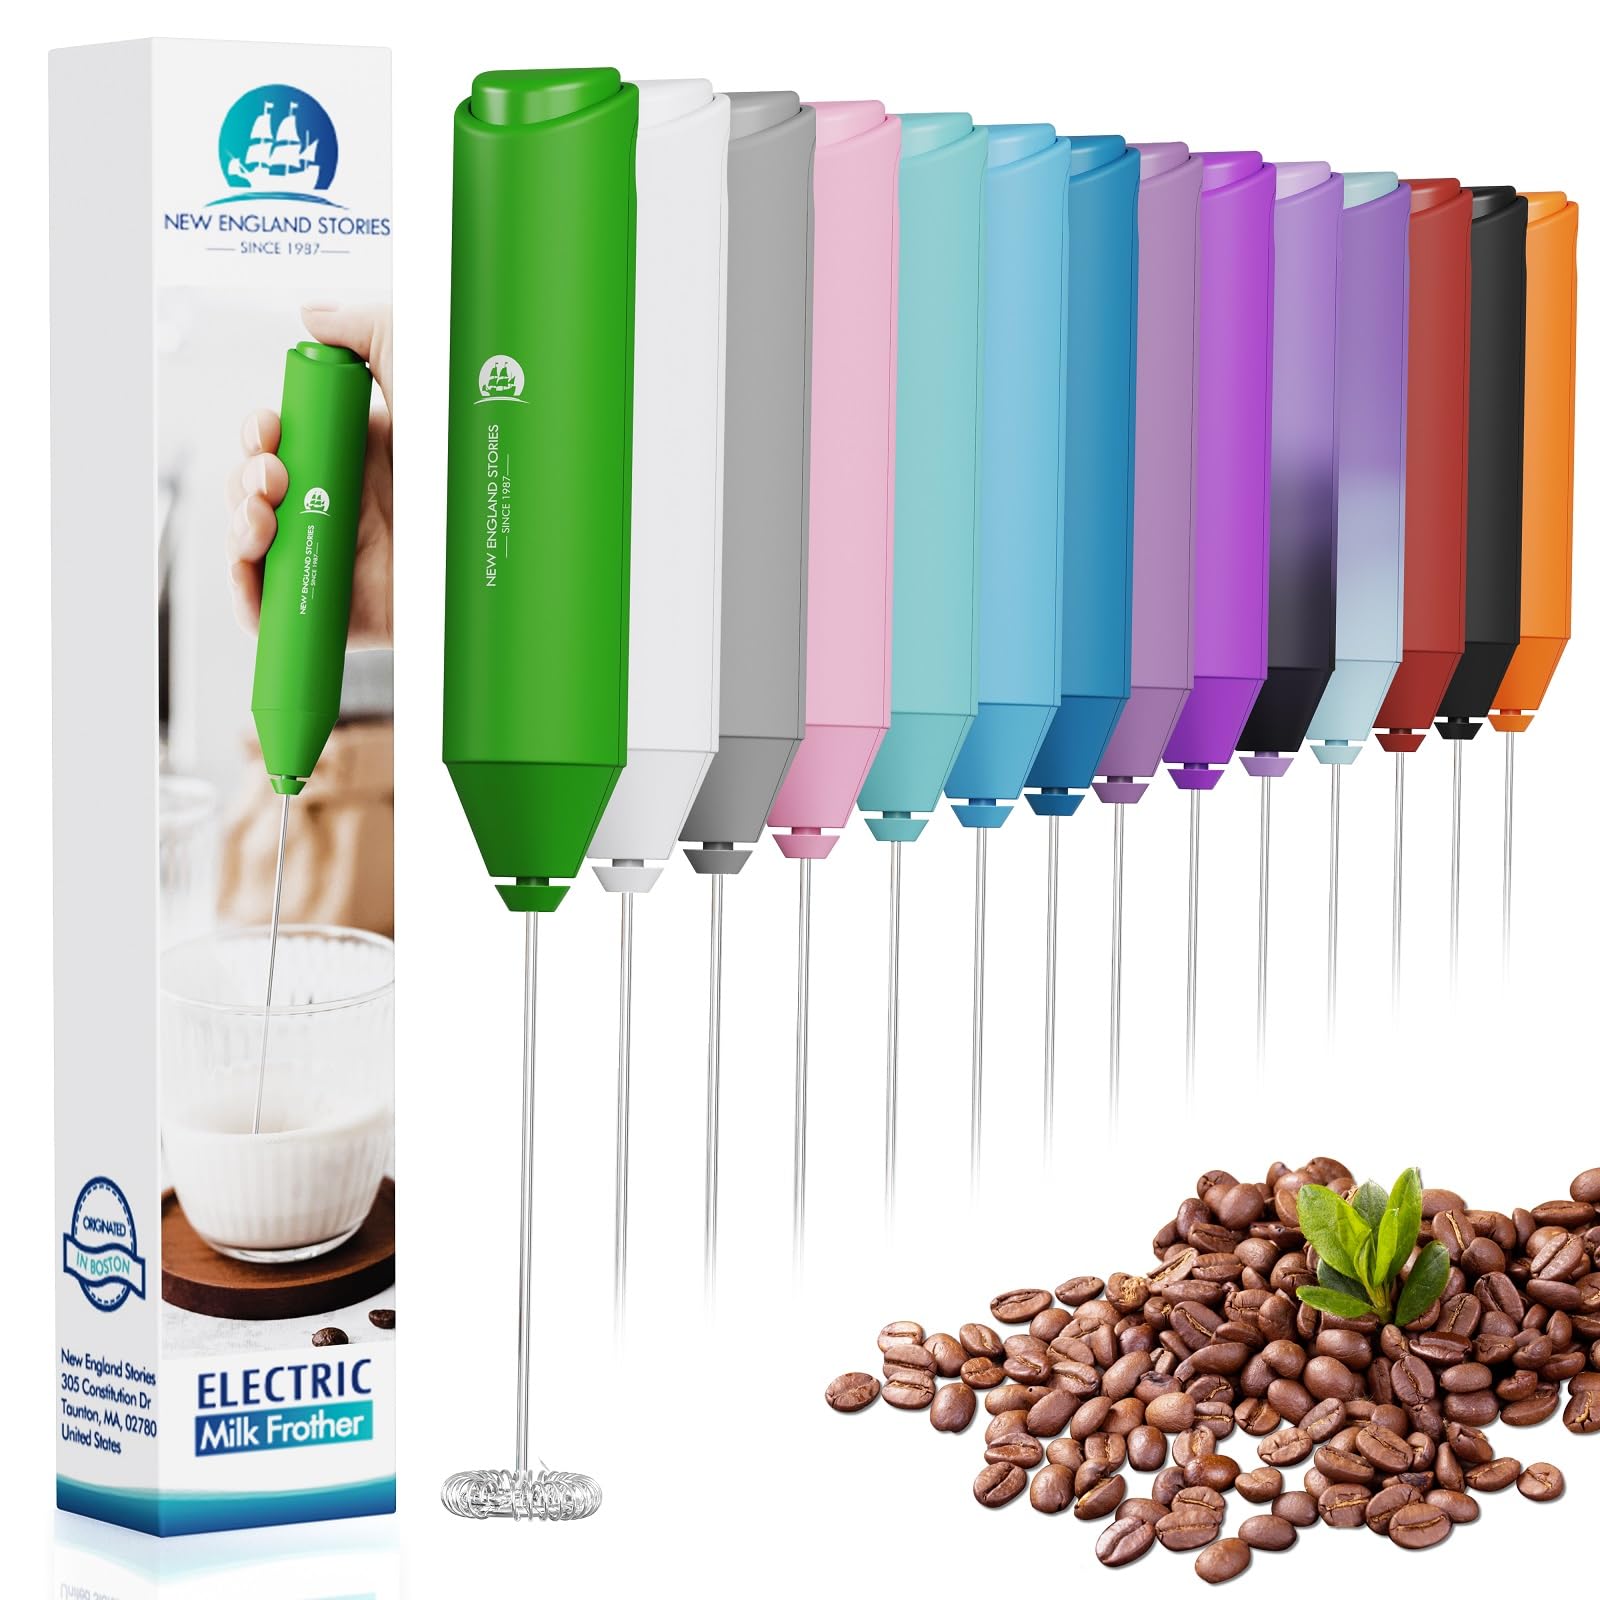
Your Secret Weapon: The Humble Milk Frother
Before we even talk about pouring techniques, let’s get one thing straight: the quality of your foam is everything. You can have the most beautiful espresso shot in the world, but if your milk is bubbly, stiff, or thin, your latte art dreams are, well, sunk. This is where the milk frother becomes the unsung hero of your home cafe.
A proper steam wand on an espresso machine creates what’s called “microfoam.” Think of it not as a foamy bubble bath, but as wet paint—glossy, smooth, and pourable, with bubbles so tiny they’re invisible to the naked eye. The great news? You can achieve a very similar texture with a good milk frother.
Choosing Your Frother: The Right Tool for the Job
Not all frothers are created equal, and the type you choose will impact your latte art journey. Let’s break down the main players.
Handheld Frothers
These little battery-powered wands are the entry point for many home baristas. They’re affordable, compact, and surprisingly effective if you know how to use them.
- Pros: Inexpensive, easy to store and clean, gives you a lot of control over the frothing process.
- Cons: Requires a bit of technique to get right, can be messy if you’re not careful, doesn’t heat the milk for you.
Electric Jug Frothers
These countertop gadgets are the “set it and forget it” option. You pour in cold milk, press a button, and it heats and froths the milk to a perfect temperature and texture automatically.
- Pros: Incredibly consistent results, heats and froths simultaneously, hands-free operation.
- Cons: More expensive than handheld models, takes up counter space, less control over the final texture.
Manual Frothers (French Press Style)
These look like a small French press. You pour warm milk in and pump a plunger up and down to create foam. It’s a very hands-on method that can produce fantastic results.
- Pros: Gives you excellent control, creates a very fine-textured foam, no electricity needed.
- Cons: Requires manual effort and you have to heat the milk separately.
|
Our Picks for the Best Milk Frother in 2025
As an Amazon Associate, we earn from qualifying purchases.
|
||
| Num | Product | Action |
|---|---|---|
| 1 | Milk Frother Handheld for Coffee (Foam Maker) Whisk Drink Mixer for Lattes, Cappuccino, Frappe, Matcha, Hot Chocolate |

|
| 2 | YUSWKO Black Handheld Milk Frother Wand for Coffee, Rechargeable Electric Whisk with 3 Heads 3 Speeds Drink Mixer Coffee Frother For Latte, Cappuccino, Hot Chocolate, Egg |
|
| 3 | Milk Frother Handheld Battery, Electric Foam Maker Frother Wand, Drink Mixer with Stainless Steel Whisk for Coffee, Matcha, Lattes, Cappuccino Black |
|
| 4 | Zulay Kitchen Milk Frother Wand Drink Mixer with AA Duracell Batteries- Durable Handheld Milk Frother Electric Whisk - Easy-Clean Milk Frother Wand & Mini Blender - Electric Coffee Frother - Black |
|
| 5 | Maestri House Rechargeable Milk Frother with Stand, LunaFro Handheld Electric Foam Maker Waterproof Detachable Stainless Steel Whisk Drink Mixer Foamer for Lattes, Cappuccino |
|
| 6 | Powerful Milk Frother Wand - Mini Handheld Milk Frother with Stainless Steel Whisk - Battery-Powered Drink Mixer for Coffee, Lattes, Cappuccinos, Matcha - Coffee Enthusiasts Gift - Black |
|
| 7 | Milk Frother Handheld Rechargeable, Frother Wand Drink Mixer Electric Whisk for Coffee, Detachable With 3 Stainless Whisks, Hand Mixer for Lattes, Cappuccino, Matcha, Egg, No Stand, Black |
|
| 8 | Zulay Kitchen Powerful Milk Frother Wand With 2 Duracell Batteries - Ultra Fast Handheld Drink Mixer - Electric Whisk Foam Maker for Coffee, Lattes, Cappuccino, Matcha, Hot Chocolate & Creamer - Black |
|
| 9 | Maestri House Rechargeable Milk Frother, LunaFro Mini Handheld Electric Foam Maker Detachable Stainless Steel Whisk Drink Mixer Foamer Mini Blender for Matcha, Lattes, Cappuccino, No Stand |
|
| 10 | Bean Envy Milk Frother Handheld for Coffee - Mini Drink Mixer Whisk & Coffee Foamer Wand with Stand for Lattes, Cappuccino, Matcha and Hot Chocolate - Kitchen Gifts - Black |
|
So, which one is for you? If you’re just starting and on a budget, a handheld frother is a fantastic way to learn the ropes. If you value convenience and consistency above all, an electric frother is your best friend.
A Step-by-Step Guide on How to Make Barista Style Latte Art
Alright, you’ve got your frother, you’ve got your favorite coffee beans. It’s time to make some magic. We’ll start with the easiest design: the heart. Master this, and you’re well on your way.
- Pull Your Espresso Shot: Brew a single or double shot of espresso directly into your favorite mug. The rich, dark crema on top is the perfect canvas for your art.
- Prepare Your Milk: This step is critical.
- What kind of milk? Whole milk is the undisputed champion for latte art. The higher fat content creates a more stable, creamy, and glossy microfoam. For non-dairy options, oat milk (specifically “barista blend”) is the best substitute, followed by soy.
- How much? Pour cold milk into your frothing pitcher. A good rule of thumb is to fill it to just below the base of the spout.
- What temperature? The sweet spot for frothing is around 140-150°F (60-65°C). Any hotter and the milk starts to lose its sweetness and the foam breaks down. If you don’t have a thermometer, heat it until the pitcher is just almost too hot to hold comfortably.
- Create the Perfect Microfoam:
- For a Handheld Frother: Heat your milk first. Submerge the whisk just below the surface of the milk and turn it on. Create a gentle whirlpool or vortex. You want to incorporate air for the first 5-10 seconds (you’ll hear a slight “tearing” sound). Then, lower the frother deeper into the milk to continue the whirlpool, breaking down any large bubbles and creating that silky texture.
- For an Electric Frother: Simply pour in your cold milk and press the button. Easy peasy.
- Groom Your Milk: Once frothed, your milk should look like glossy, wet paint. Tap the pitcher firmly on the counter a few times to pop any large surface bubbles. Then, swirl the milk in the pitcher continuously. This keeps it integrated and stops the foam from separating from the liquid milk. Don’t skip this step!
- The Pour: Here we go!
- The High Pour (The Base): Tilt your mug of espresso towards you at about a 45-degree angle. Start pouring the frothed milk from a height of about 4-6 inches, aiming for the center of the espresso. Pour in a thin, steady stream. This high pour allows the milk to dive underneath the crema, mixing with the espresso to create your canvas. Fill the cup about halfway to two-thirds full this way.
- The Low Pour (The Design): Now, bring the tip of your pitcher as close as possible to the surface of the coffee. As you continue to pour, a white dot of foam will appear. This is your design taking shape!
- Making the Heart: Once your white dot appears, keep pouring into that central spot. As the cup fills, the dot will expand into a larger circle. When the cup is almost full, lift your pitcher slightly and pour through the center of the circle towards the edge of the cup. This “pull-through” motion will drag the foam, creating the point of the heart.
Congratulations! You’ve just poured your first piece of latte art. Don’t worry if it looks more like a blob than a heart—we’ve all been there.
As award-winning home barista Ava Chen always says, “Latte art isn’t about perfection on the first try; it’s about the dance between steam and milk. Master the texture, and the art will follow.”
Pro Tips to Up Your Latte Art Game
Ready to move beyond the basics? Here are a few tricks of the trade.
- Always Start with Cold Milk and a Cold Pitcher: Cold helps you control the frothing process, giving you more time to create that perfect microfoam before the milk gets too hot.
- Practice with Water: Don’t want to waste milk? You can practice your pouring motion with water. It won’t create a design, but it will help you build muscle memory for a steady hand.
- Watch Videos: Seeing the wrist motion and pouring speed in action is incredibly helpful. There are countless tutorials online that can supplement this guide.
- Focus on Texture First: For your first 20 lattes, don’t even worry about the design. Just focus on getting that perfect, silky, wet-paint texture. Once you nail the foam, the art becomes infinitely easier.
Beyond the Latte: Other Uses for Your Milk Frother
Your milk frother isn’t a one-trick pony. Once you’ve mastered your coffee creations, why not try:
- Matcha Lattes: Froth milk and pour it over a concentrated shot of matcha tea.
- Luxury Hot Chocolate: Mix cocoa powder and a little sugar with a splash of hot water to make a paste, then pour your beautifully frothed milk over it. It’s a game-changer.
- Whipped Dalgona Coffee: The viral sensation is made easy with a handheld frother.
- Cocktails: Add a frothy, professional-looking top to drinks like a whiskey sour.
Keeping Your Frother in Top Shape
To ensure your frother lasts and performs well, cleaning is key.
- Handheld Frothers: Simply run the whisk head under hot water immediately after use. You can even pulse it for a second in a cup of soapy water, then rinse.
- Electric Frothers: Most have non-stick interiors. Wipe them out with a soft, damp cloth right after use before the milk residue dries and hardens. Never submerge the base in water.
- Manual Frothers: Take it apart and wash all the pieces with warm, soapy water.
Frequently Asked Questions (FAQ)
Q: Can I make latte art with non-dairy milk?
A: Yes, you absolutely can! The best option is a “barista blend” oat milk, as it’s specifically formulated to froth well. Soy milk is another good alternative. Almond and coconut milk can be trickier as they have lower protein and fat content, often resulting in a thinner foam.
Q: Why is my foam too bubbly and not silky?
A: This usually means you incorporated too much air at the beginning of the frothing process or didn’t “groom” the milk afterward. Try to keep the frother’s whisk just below the surface for a shorter time, and spend more time creating that deep whirlpool to break down big bubbles. And don’t forget to tap and swirl!
Q: Do I really need an expensive espresso machine to learn?
A: Not at all! While a great espresso shot with a thick crema provides the best canvas, you can practice with strong coffee from a Moka pot, AeroPress, or even a very concentrated French press. The key skill you’re learning is how to froth and pour milk.
Q: What is the easiest latte art design to start with?
A: The heart is widely considered the easiest design for beginners. It teaches you the two fundamental pouring motions: creating a base blob of foam and then “pulling through” to create a shape.
Q: How long does it take to learn how to make barista style latte art?
A: It varies for everyone, but with consistent practice (a cup a day), you should be able to pour a recognizable heart within a couple of weeks. The key is patience and focusing on one small improvement at a time.
Your Home Cafe Awaits
Learning how to make barista style latte art is more than just making a pretty drink. It’s a mindful, rewarding ritual that elevates your daily coffee. It’s a journey of small victories, from that first time you see the white foam appear to the day you pour a perfect, symmetrical heart.
With a simple Milk Frother and a bit of practice, you have everything you need to unlock a new level of coffee enjoyment. So go ahead, grab your milk, fire up your coffee maker, and start pouring. Your inner barista is waiting to be discovered.